
Directions
1. Boil chicken & cut into small pieces
2. Prepare Spanish rice (package directions)
3. Combine chicken, rice, cream cheese, shredded cheese, sour cream, cumin, cilantro, lime juice, & salt, in large bowl.
4. Fill tortillas with mixture and place into 9 x 13 pan
5. Pour enchilada sauce & whipping cream over tortillas
6. Sprinkle cheese on top
8. Bake at 350 loosely covered for 35 minutes. If bubbly, then uncover & bake an additional 10 minutes. If they come from the fridge, increase cooking time by 10-15 minutes
So here is the step by step part of the post…..
Prepare Chicken
This can easily be done the day before
This can easily be done the day before
I usually end up chopping the chicken small so it cooks faster.
Don’t forget it’s done as soon as it’s white. Don’t overcook!


Drain
I run a little cold water over it so I can handle it

I run a little cold water over it so I can handle it

Chop or Shred
Chop chicken (I think chopping is easier than shredding)
Store in Ziploc bag until ready for use


Prepare Rice & Mix Other Ingredients
Knorr Spanish Rice according to package directions.
Don’t get Mexican Rice….there is a big difference!
I usually prepare the rice the microwave because I’m lazy.
Plus, it’s one less pan to wash.
The hot rice will melt the cheeses.


Plus, it’s one less pan to wash.
The hot rice will melt the cheeses.


Stuff Tortillas
-Note: I have forgotten the shredded cheese &/or sour cream & it tasted fine.
-Mix rice, chicken, cream cheese, shredded cheese, sour cream, cilantro, cumin, salt & lime juice.
-This is what mine looks like before it goes in the tortillas.
-Mix rice, chicken, cream cheese, shredded cheese, sour cream, cilantro, cumin, salt & lime juice.
-This is what mine looks like before it goes in the tortillas.
-I usually have about 8 enchiladas for a 9 x 13 pan.
-You can easily stretch it out to 10 tortillas.


Ready for Refrigerator or Final Steps
-If you make these a day ahead, then cover & refrigerate in this state.

-If you make these a day ahead, then cover & refrigerate in this state.

Final Step
-I used a 10 oz can of enchilada sauce.
-I usually use 1 pkg (8 oz) of shredded Mexican blend cheese…but 8 oz blocks were on sale for $1.50 this week….so I shredded my own.


Cover Surface with Enchilada Sauce
-Random Note: I always break the surface on opposite sides with my can opener to make it easy to pour….as opposed to opening the entire can & ladling it over the tortillas.
-Random Note: I always break the surface on opposite sides with my can opener to make it easy to pour….as opposed to opening the entire can & ladling it over the tortillas.
-Be sure to get edges


Whipping Cream & Shredded Cheese
-I used about 1/2 of this container…maybe a little more than 1/2.
-This is what mine looks like before the final cheese layer.


-This is what mine looks like before the final cheese layer.


Cover with Foil & Into the Oven
-Loosely with aluminum foil b/c the cheese will stick!
-Unless you have non-stick foil…which is awesome.
-350 degrees for about 35-40 minutes.
-Check to see if it’s bubbling…then take off foil & bake an extra 10 minutes.
-If they just came from the fridge, then increase baking time another 10-15 minutes.


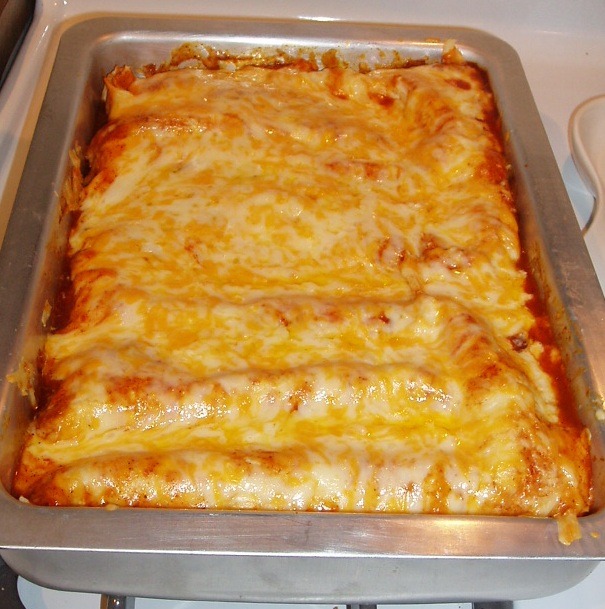
Enjoy!
-Let it “rest” at least 5 minutes.
-Let it “rest” at least 5 minutes.
-Garnish with sour cream, salsa, guacamole….whatever fancies your palette.


Best served with Tortilla Chips….this entire bag was $1 @ Aldi!
We had ours with avocado/black bean salsa….so delicious.

Continued on the next page
ADVERTISEMENT
