
ADVERTISEMENT
ADVERTISEMENT
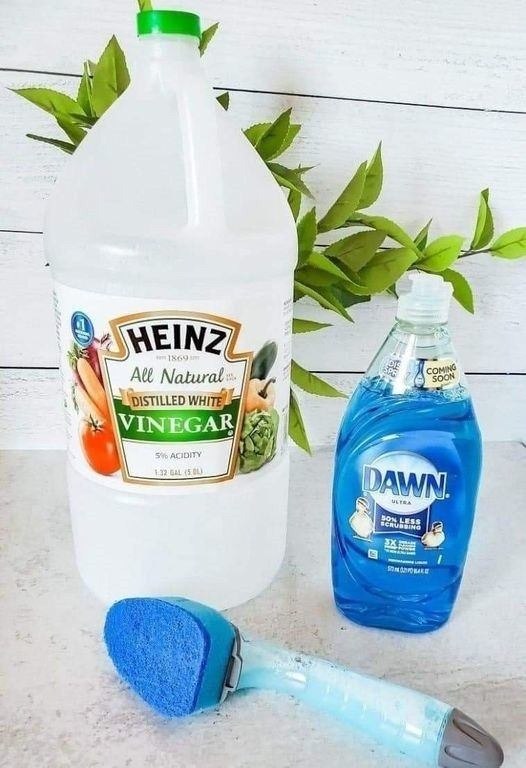
DIY Shower Cleaner
grime, soap scum, and mildew.
- Rinse thoroughly: Rinse with warm water to remove any residue. For a streak-free finish on glass, wipe down with a microfiber cloth.
- For Complete Cooking STEPS Please Head On Over To Next Page Or Open button (>) and don’t forget to SHARE with your Facebook friends
🧴 Extra Tips for Success
- For tough buildup: Use the cleaner daily or a few times a week until the shower is spotless.
- For moldy corners: Add 1–2 teaspoons of baking soda to the mix or apply it directly to problem areas before spraying.
- Avoid marble or natural stone: Vinegar can etch and damage natural stone surfaces. Use a stone-safe cleaner for those areas.
🛁 Make It a Habit: Prevent Buildup Before It Starts
- Use a squeegee after each shower to remove water from glass doors and tiles.
- Keep a spray bottle of your DIY cleaner in the bathroom for quick maintenance.
- Ventilate your bathroom with a fan or open window to reduce moisture and prevent mildew.
🌿 Final Thoughts
With this easy, effective DIY shower cleaner, you can ditch the chemical-laden sprays and switch to a natural, homemade solution that works just as well—if not better. Not only will your shower gleam, but you’ll also feel good knowing you’re cleaning your home with safe, skin- and eco-friendly ingredients.
Ready to give it a try? Just a few minutes of mixing and spraying can leave your bathroom feeling fresh, clean, and chemical-free.
Would you like printable labels or a step-by-step cleaning checklist to go with your DIY products?
ADVERTISEMENT
