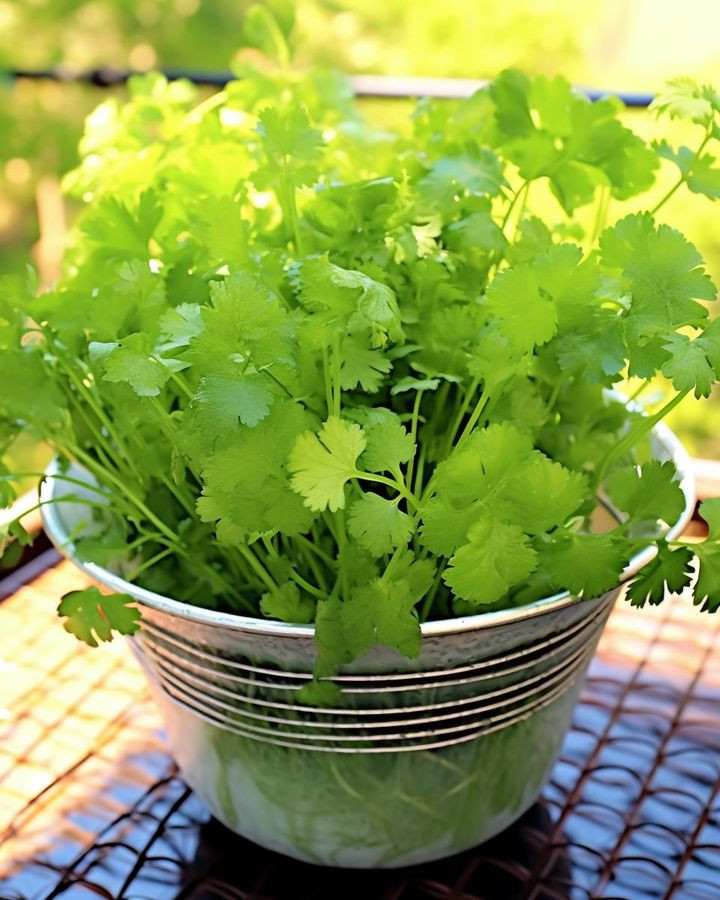
Step 4: Adjust pH Levels
Using the pH testing kit, check the pH level of the nutrient solution. Cilantro prefers a slightly acidic environment with a pH range of 6.0 to 6.7. If the pH is too high or too low, adjust it accordingly using pH-up or pH-down solutions until it falls within the ideal range.
Step 5: Plant Your Cilantro
If you’re starting from seeds, place them in a growing medium like rockwool cubes or grow sponges. Moisten the medium with the nutrient solution and place it in the container, making sure the bottom of the medium touches the water to keep it moist.
For those using seedlings, gently transplant them into the growing medium while taking care not to damage the roots. Ensure the roots are well submerged in the nutrient solution.
Step 6: Provide Adequate Lighting
Cilantro requires a minimum of 6 to 8 hours of sunlight daily. If you’re growing indoors or in an area with insufficient natural light, use appropriate grow lights. Position the lights above the cilantro plants at a height where they receive adequate illumination without causing heat stress.
Step 7: Monitor and Maintain
Regularly check the water level in the container, topping it up as needed to ensure the roots are continuously submerged. Keep an eye on the nutrient solution, as the plants will consume it over time. Add fresh nutrient solution when necessary, following the recommended dilution.
Step 8: Harvesting Cilantro
Cilantro grows quickly, and you can start harvesting the leaves once they reach a usable size, typically within 3 to 4 weeks. Harvest by snipping the outer leaves, leaving the inner ones to continue growing.
ADVERTISEMENT

