
Mix-in Options: This is where it gets fun—mini chocolate chips, coconut, chopped pecans, bits of dried fruit, even lemon or orange zest for a bright kick. It’s almost impossible to mess up. (Some of my best batches were “accidents” when I was cleaning out the pantry.)
Directions
Step 1: Preheat the Oven & Prepare Your Pan
Turn your oven to 350°F (that’s 175°C for my metric folks!). Grab a 9×13-inch baking pan and either butter it up, spray it, or do what I do—slap down some parchment for the easiest cleanup and lifting ever. (Slicing is SUCH a breeze if you do this… trust me.)
Step 2: Make the Crust
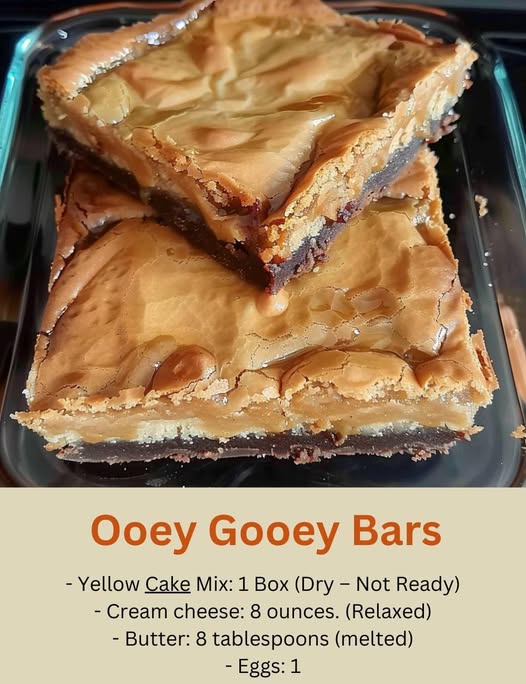
In a medium bowl, dump in your dry cake mix, pour in the melted butter, and crack in one of the eggs. Mix with a good spatula or, if you’re feeling bold, use your hands. This dough is sticky, thick, and a little unruly—that’s exactly what you want! Press it firmly and evenly into the bottom of your pan. I use the bottom of a measuring cup to get it really pressed in and even (my secret weapon for smooth crusts!).
Step 3: Whip Up the Filling
Clean out your bowl or grab a new one, and beat the softened cream cheese until it’s silky smooth. Don’t rush this part—getting rid of those lumps is worth every extra minute. Crack in the two remaining eggs and mix until just combined. Slowly add in the powdered sugar (plus vanilla or a little sprinkle of salt if you like), and mix on low speed at first—otherwise, you’ll have a powdered sugar snowstorm in your kitchen. Beat until it’s glossy, thick, and utterly irresistible. Pour over the crust and nudge it into all the corners so every bite is nice and gooey.
Step 4: Bake
Slide your creation into the oven and bake for about 25–30 minutes. Here’s the trick: The VERY edges should look gently golden, but the center should still be just a bit wobbly when you give it a little nudge. Overbaking transforms “ooey-gooey” into just “cake,” so trust your gut (and your oven timer). I check around the 25-minute mark every time.
Step 5: Cool (Yes, It’s Important!)
This part is pure agony if you’re impatient like me—let the bars cool completely, at least an hour if you can stand it. Cut too soon and you’ll have runny filling everywhere (ask me how I know). Once cool, lift out using your handy parchment and slice. Running your knife under hot water between cuts is my “trick” for those clean, bakery-style squares.
Step 6: Serve and Sigh Happily
Just before serving, I sometimes dust the tops with a little extra powdered sugar—makes ‘em look fancy. These are just as good with coffee as they are with a glass of cold milk, and I swear they disappear twice as fast if you serve them warm from the oven (but let’s not tell anyone I told you it’s okay to cheat a little on that cooling time!).
Variations
The Chocoholic: Use a chocolate cake mix and mix mini chocolate chips into the filling. It’s like a brownie and a cheesecake had a glorious baby.
Lemon Zing: Lemon cake mix plus a tablespoon of fresh lemon zest in the filling cuts the sweetness and feels so springy.
Pumpkin Spice: Try a spice cake for the crust and add pumpkin pie spice and a splash of vanilla in the filling. Autumn in every bite!
Nuts for Nuts: Sprinkle generously with chopped pecans or walnuts on top before baking for a toasty finish and some crunch.
Sweet Coconut Cloud: Fold a cup of sweetened coconut into the filling for tropical vibes that transport you (even in the dead of winter).
Honestly, this recipe is just a launching pad for whatever wild or wonderful flavor you’re dreaming up. Sometimes I riff on it when I’ve got candy bits, leftover fruit, or whatever else is rolling around the baking drawer. You really can’t mess it up.
Storage & Reheating Tips
If by some miracle you end up with leftovers (rare at my place!), just pop the bars in an airtight container and leave them at room temperature for up to three days—unless your house gets warm, then stash them in the fridge. Honestly, I love them chilled for a dense, almost fudge-like bite, but you can always bring them back to room temp if you want that softer, gooier texture.
Want to make them last? Wrap individual bars tightly in plastic wrap or aluminum foil and tuck them in the freezer. When that late-night craving strikes, just let one thaw—or pop it in the microwave for about 10–15 seconds. It’s dangerously easy to make your own bakery-style treats “on demand.” (My past-self is always grateful when I remember to squirrel away a secret stash.)
FAQs
ADVERTISEMENT
