
Some recipes aren’t just food—they’re time machines.
One bite of this fudge, and I’m back in my childhood kitchen: steam fogging the windows, the gentle clink of a wooden spoon against a heavy pot, and the rich, deep aroma of chocolate and butter swirling together like a promise.
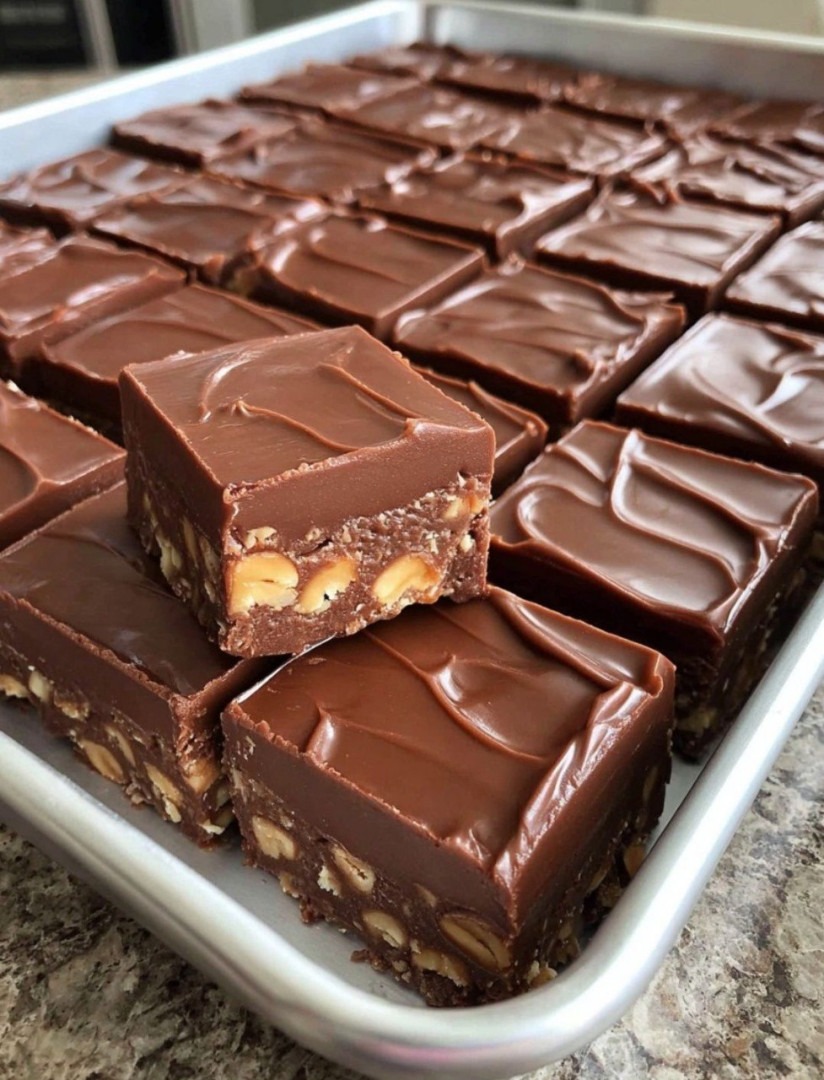
My Mom’s Fudge isn’t fancy. It doesn’t need a stand mixer, a candy thermometer, or Instagram-worthy swirls. But it is perfect: velvety smooth, deeply chocolatey, and just sweet enough to linger on your tongue without overwhelming it.
And yes—it never lasts more than a day. Not because it’s fragile, but because everyone keeps whispering, “Just one more piece…” until the pan is mysteriously empty.
 Why This Recipe Actually Works (No Failures Allowed!)
Most fudge fails fall into three traps:
 Gritty (sugar crystallized)
Too soft (won’t set)
Dry & crumbly (overcooked)
Mom’s method avoids all of it with one golden rule: gentle heat + no stirring after boiling = foolproof texture.
 No candy thermometer needed—just watch for the soft-ball stage by timing and consistency
Cocoa-based (not chocolate bars), so it’s affordable and pantry-friendly
Small batch (8×8 pan)—perfect for gifting or resisting overindulgence (…mostly)
For Complete Cooking STEPS Please Head On Over To Next Page Or Open button (>) and don’t forget to SHARE with your Facebook friends
Some recipes aren’t just food—they’re time machines.
One bite of this fudge, and I’m back in my childhood kitchen: steam fogging the windows, the gentle clink of a wooden spoon against a heavy pot, and the rich, deep aroma of chocolate and butter swirling together like a promise.
My Mom’s Fudge isn’t fancy. It doesn’t need a stand mixer, a candy thermometer, or Instagram-worthy swirls. But it is perfect: velvety smooth, deeply chocolatey, and just sweet enough to linger on your tongue without overwhelming it.
And yes—it never lasts more than a day. Not because it’s fragile, but because everyone keeps whispering, “Just one more piece…” until the pan is mysteriously empty.
Why This Recipe Actually Works (No Failures Allowed!)
Most fudge fails fall into three traps:
Gritty (sugar crystallized)
Too soft (won’t set)
Dry & crumbly (overcooked)
Mom’s method avoids all of it with one golden rule: gentle heat + no stirring after boiling = foolproof texture.
No candy thermometer needed—just watch for the soft-ball stage by timing and consistency
Cocoa-based (not chocolate bars), so it’s affordable and pantry-friendly
Small batch (8×8 pan)—perfect for gifting or resisting overindulgence (…mostly)
For Complete Cooking STEPS Please Head On Over To Next Page Or Open button (>) and don’t forget to SHARE with your Facebook friends
6. Pour & Set
Immediately pour into your prepared pan. Smooth the top.
Let cool at room temperature (don’t refrigerate—it can cause condensation and sugar bloom).
It will set fully in 1.5–2 hours.
7. Slice & Savor
Lift out using parchment overhang. Cut into squares with a sharp knife (wipe blade clean between cuts).
 Mom’s Secret Tips (Passed Down with Love)
Use a heavy pot: Thin pans scorch the bottom.
Don’t double the batch: Fudge is finicky in large quantities—make two separate batches instead.
Chop nuts finely: Big chunks make slicing messy.
Store between parchment layers: Prevents sticking. Keeps 1 week at room temp, 2 weeks in fridge.
Freeze for gifts: Wrap squares in foil, tuck into a tin, and deliver joy!
 Why This Makes the Best Holiday Gift
This fudge looks homemade but tastes gourmet. Wrap it in cellophane with a red bow, tuck into a cookie tin, or layer in a mason jar with a handwritten note: “Made with love (and no thermometer!).”
It’s the gift that says, “I took time for you.”
 Final Thought
My mom never called this “gourmet.” She called it “easy fudge.” But that’s the beauty of real home cooking—it’s not about perfection. It’s about presence, patience, and a wooden spoon worn smooth by love.
So go ahead. Make a batch. Watch it disappear. And maybe—just maybe—save one piece for yourself.
You’ve earned it.
ADVERTISEMENT

