
Before you begin, keep these simple tips in mind.
Use Cold Buttermilk
Cold ingredients help create a lighter texture.
Don’t Overmix
A shaggy, slightly lumpy batter is exactly what you want.
Use Real Butter
The flavor difference is noticeable.
Let the Butter Cover the Bottom
The dough should sit directly in the melted butter.
Bake Until Deep Golden Brown
The color equals flavor.
Don’t remove them too early.
Step-by-Step Instructions
Step 1: Preheat the Oven
Preheat your oven to 425°F (220°C).
This high temperature helps create those beautifully golden tops and crispy edges.
While the oven heats, prepare your baking dish.
Step 2:
Melt the Butter
Pour the melted butter into a 9×13-inch baking dish or oven-safe skillet.
Spread it evenly across the bottom.
At first, it may seem like a lot of butter.
Trust the process.
This is what makes Butter Swim Biscuits famous.
Step 3: Mix the Dry Ingredients
In a large mixing bowl, whisk together:
Flour
Baking powder
Salt
Mix until evenly combined.
This helps ensure every biscuit rises properly.
Step 4: Add the Buttermilk
Pour the cold buttermilk into the dry ingredients.
Using a spoon or spatula, gently stir until combined.
The batter should look thick, sticky, and slightly rough.
Avoid overmixing.
The less you work the batter, the softer the biscuits will be.
Step 5: Transfer the Dough
Carefully spoon the dough directly into the baking dish over the melted butter.
Spread it gently into an even layer.
Don’t worry if some butter rises around the edges.
That’s exactly what should happen.
Step 6: Score Before Baking
Using a knife or bench scraper, lightly cut the dough into squares before placing it in the oven.
This makes serving easier later and helps the biscuits bake more evenly.
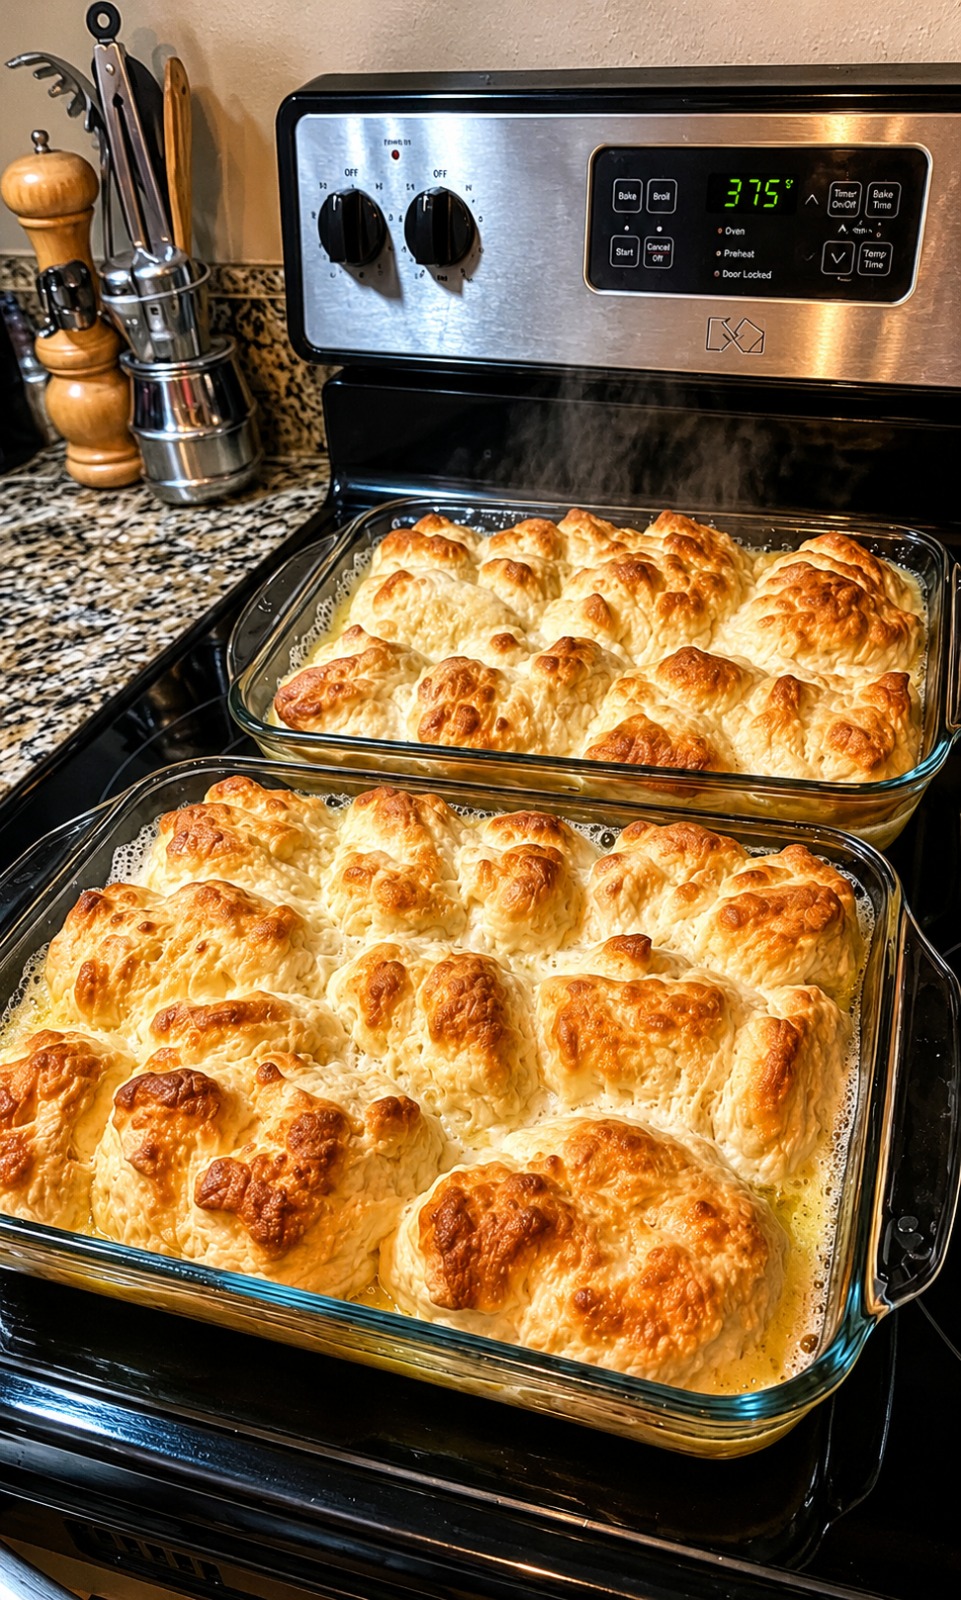
Step 7: Bake Until Golden
Bake for approximately 20 to 25 minutes.
The biscuits are ready when:
The tops are golden brown
The edges look crisp
The center is fully cooked
Your kitchen will smell incredible long before they’re done.
Step 8: Rest and Serve
For Complete Cooking STEPS Please Head On Over To Next Page Or Open button (>) and don’t forget to SHARE with your Facebook friends
ADVERTISEMENT

