
You know that feeling when your sweet tooth wakes up and just won’t quit? I think we all have those kinda days—those times you can’t decide if you want cake, cookies, or maybe a big ol’ slab of cheesecake. That’s usually my cue to grab that emergency box of yellow cake mix from the pantry and whip up a batch of my go-to Ooey Gooey Bars. Honest truth—these are my “wild card” treat. They never fail to charm a crowd or turn a crummy afternoon into something memories are made of (and seriously, they’re one of the EASIEST desserts you’ll ever bake).
I first put these together while shuffling around the kitchen in my slippers, desperate for something warm and indulgent. A handful of pantry staples, a swift swirl of a spatula, and thirty minutes later? Heaven. These bars are soft, buttery, and positively dreamy—the kind of dessert that gets devoured before you even have a chance to transfer them off the cooling rack. And let’s be real: No one can resist that ooey-gooey center. (Not even my husband, who claims he “isn’t a dessert guy”—ha!)
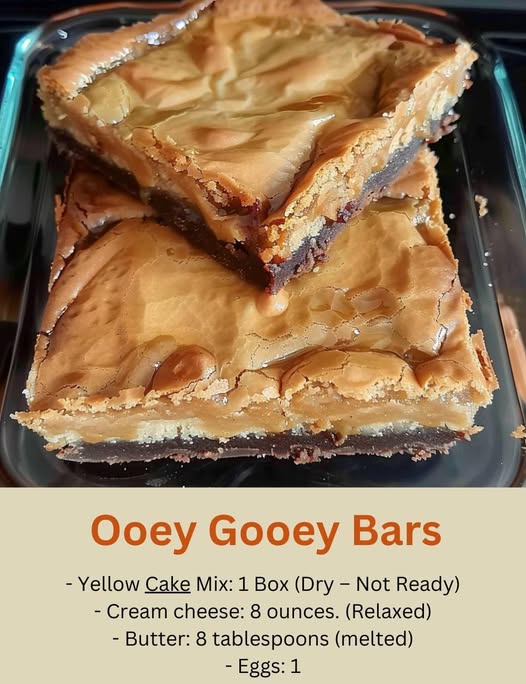
Ooey Gooey Bars in a baking pan
Why You’ll Love It
Ultra-creamy center with a rich, buttery base—basically what happens when cheesecake and blondies have a baby
Just a handful of pantry staples (so yes, you probably have what you need already!)
Prep time is embarrassingly quick—maybe 15 minutes, tops
Totally customizable with whatever mix-ins or cake flavors hit your mood
Perfect for parties, holidays, bake sales, or those “just because” Tuesdays
Stays soft for days (if you manage to have leftovers… good luck!)
Ingredient Notes
Yellow Cake Mix: This is your base and shortcut! Any brand will do just fine. Use it dry—don’t prepare it as cake or you’ll end up with a mess. Want to mix it up? Try chocolate, lemon, or spice cake mix if you’re feeling fancy or using up random boxes from the pantry.
Butter: I tend to use unsalted, but if all you’ve got is salted (it happens!), skip adding any extra salt. Just make sure it’s fully melted—nothing fussy, just microwave or stovetop for a quick zap.
Eggs: You’ll need three: one to bind the crust, and two for that fluffy, dreamy filling. If you forget to set them out early, don’t fret—straight from the fridge has worked for me more times than I care to admit.
Cream Cheese: Softened is the key! Cold cream cheese equals lumpy batter, so let it come to room temp first. If you’re in a rush, zap it in the microwave (just be gentle—don’t cook it!).
Powdered Sugar: Sweetens and thickens the filling. I use 3 ½ cups for a sweet tooth fix, but you can take it down to about 3 cups if you want it less intense. Want a little “grown-up” edge? Add a pinch of salt or a splash of vanilla right into the mix.
ADVERTISEMENT
